
Continuing our month-by-month series, today’s post details all the major tasks on the to-do list for March. As March is unpredictable and still considered winter, the month is full of all sorts of crazy weather ups and downs. On the sunny, milder days, we’re pretty much always outside taking advantage and doing some kind of work out on the farm. On the days when winter is reluctant to release her grip and snow is falling (or just refusing to melt), there are still plenty of indoor chores to be working on as well.
Below is the list of all our expected chores for March.
Note: There may be affiliate links to any products, books, or services mentioned below.
Order tulips for the fall
As a flower farmer, you always need to be thinking about six months ahead with your planning so you don’t get behind. Even though it might seem crazy to the typical home gardener, most flower farmers put in their big fall bulb orders in late February or early to mid March, which is actually before your spring bulbs even bloom for the year. In other words, I’m ordering tulips for varieties that I maybe haven’t even seen yet in person, although they might be planted in my farm right now. Of course, most large distributors will still have tulips available later in the season, but if you’re wanting to get in on some of the most coveted, you definitely don’t want to put it off too much.
I’ve already put in two large bulb orders to be delivered in October, one of which I paid for upfront right now and the other which I’ll get billed for when it ships. All in all, I’m ordering 3,600 tulips, 300 ranunculus corms, and about 150 daffodils to add to our collection.
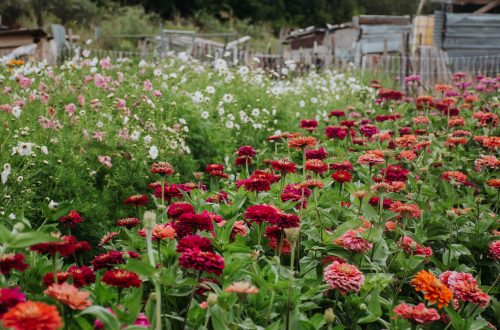
Prune roses
Once the snow starts melting in earnest (we haven’t seen our grass and in-ground beds since November…literally), it’s time to prune the roses. I’m no master rose grower (in fact, I’ve killed pleeeenty in my time), but I have picked up on some good basic pruning techniques I employ. To sum up, I just go for the D’s — cut anything that’s diseased, dead, damaged, or growing diagonally (meaning it’s going to cross with other branches).
I don’t use anything fancy to do the pruning — just my favorite snips that I use for all my harvesting (which I like because they can cut through woody stems as well). I make sure to wash them with hot water and soap before every use, and if I’m dealing with anything diseased, I wash them in between those plants as well.
Get load of compost
Since we’re planting on a larger scale than most home growers, it makes more sense for us to order our compost in bulk and get enough to last for the entire season. By this point, I will have done my research and decided on which compost to go for (and how much of it), so in March it’s just a matter of making the phone call and scheduling the delivery or the pickup time.
This year we’re going with the same mushroom compost we had a lot of success with last year, even if it is one of the pricier options for sure.
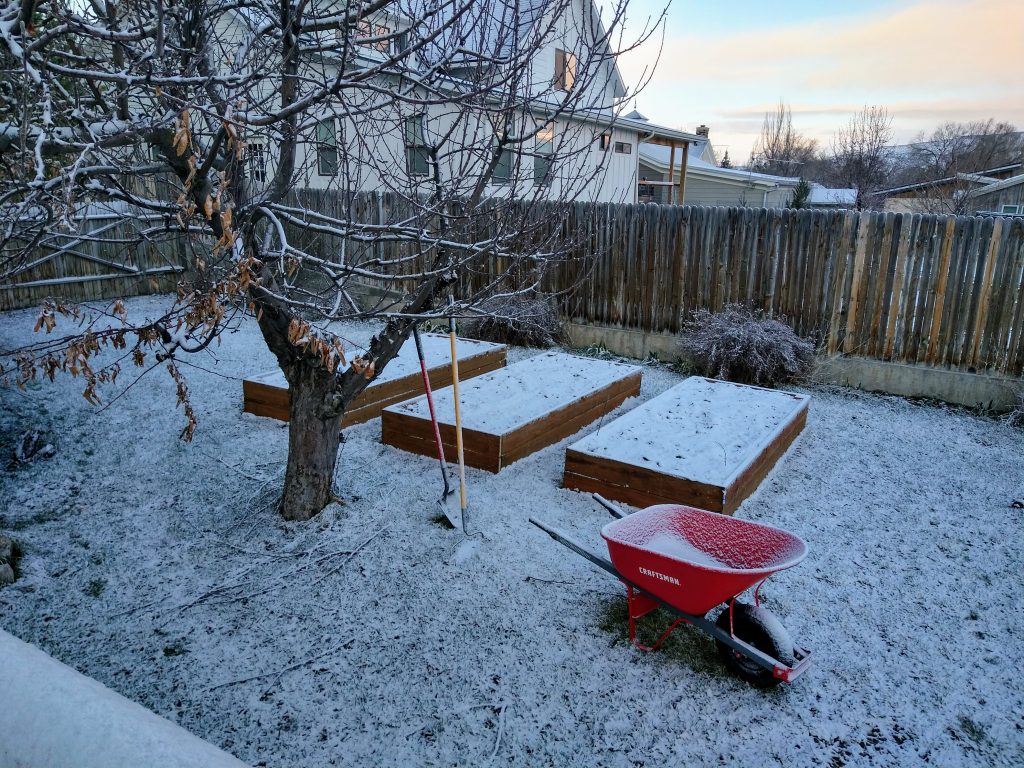
Prep beds
If I did everything at the ideal time, bed prepping is something I’d always do in the fall to give myself a headstart in the spring AND to give the compost time to really sink into the soil. However, I’m so burned out and done by the time all the tulip bulbs are in and the dahlia tubers are pulled out in the late autumn that I pretty much always prep my garden beds in the spring.
For me, prepping means ripping out all the dead annuals, pulling up any weeds, and adding a fresh layer of compost on everything.

Sow second succession of hardy annuals inside
Seed sowing continues, and the grow room is definitely starting to fill out. We’ve already sowed the first succession of most of our hardy annuals, so now we’re doing later successions of things like stock and snapdragons, and we’re also starting to sow the hardy annuals that are a little more quick growing.
As a quick reference, here are the seed starting supplies we use:
- shop lights (I’ve tried the fancier, more expensive growing lights, but these shop lights work just as well for a fraction of the price)
- heat mats for germinating
- cell trays with germination domes and bottom trays
- perlite, vermiculite, and coco coir for making our own seed starting mix
Direct sow hardy annuals outside
Pretty much as soon as the snow has fully melted and we’re starting to see rain in the forecast instead of only snow, it’s time to direct sow the hardy annuals that prefer to be put directly into the soil from the get go rather than transplanted. (Remember to note: many hardy annuals require cold stratification first, which means you need to pop them into your freezer for 1-2 weeks before planting them out, so plan accordingly.)
This includes varieties like nigella, bachelor’s buttons, ammi, bells of Ireland, poppies, and more. Your best resource on hardy annuals and all of their preferences is the book Cool Flowers by Lisa Mason Ziegler. I consider it a must own for any flower farmer.
Sow first succession of slow tender annuals (end of month)
We have a last frost date of around late May to early June, which means that I need to start any slower growing tender annuals that require 8+ weeks of indoor growing at the end of March. Many tender annuals are much faster than this, but there are some I always start this early, including amaranth, celosia, gomphrena, and china asters.
Continue to fertilize seedlings weekly
A huge mistake I made my first year was only fertilizing my seedlings sporadically, and it meant that many were still weak and spindly when it came time to harden them off and plant out. Once I started applying fish emulsion fertilizer every single week without fail, my seedlings took off and looked just like the ones I had always been jealously eyeing before from all the other flower farmers.
In case you’re wondering, the type of fish emulsion I use is this one.
Pot up or move seedlings around as necessary
I frequently sow 2-3 seeds per cell just to make sure I’m going to have the number of seedlings I’ve planned on (which I plan on using a full tray of 40 cells, in our case). Frequently I’ll have some cells that produce nothing and others where all two or three seeds germinate, which necessitates that I shuffle things around after a couple of weeks.
Once the seedlings start to get some true leaves, I carefully pop out the whole cell and gently break apart the separate seedlings, then pot them into their own cells with a little more potting soil. I usually try and do this right before I’m about to fertilize anyway so that they get an extra boost of “food” while they’re recovering from the shock.
Take dahlia tubers out of winter storage + divide
The last major task for March is to pull the dahlia tubers out of winter storage and start assessing the damage (if there is any). I chuck any tubers that are clearly diseased or rotten or mushy (some mold is usually okay), and then I start the process of dividing them.
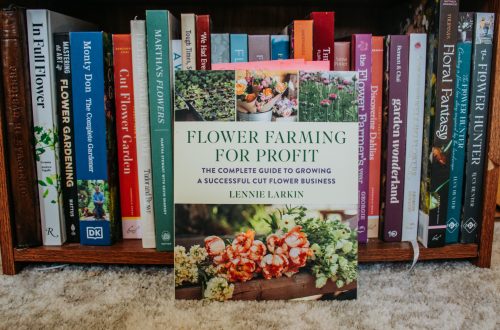
One of the best resources available currently on all things dahlias is Erin Benzakein’s latest book, Discovering Dahlias.
If you’ve found that you’ve unexpectedly lost many of your dahlia tubers in storage (as happened to us this year), don’t panic — while fall is often the *ideal* time to order dahlia tubers, there are still many smaller growers who don’t divide theirs until February and March, and that’s also when they offer to sell theirs to the public. Your selection might not be quite as good as in the fall, but it should still give you a decent selection of the most popular types to choose from.
As always, let me know if you have any questions, and let’s all keep our heads up because spring is really and truly right around the corner now!