
This post is part four in our five-part series all about how to start your own small-scale flower farm. Make sure you check out the other posts in the series first so that you’re caught up to speed:
- Part One: Business Plan + Site Selection
- Part Two: What to Grow + Planning Your Year
- Part Three: Marketing + Building a Customer Base
So you’ve finally managed to grow some flowers, and you’re ready to actually start selling them. Where to start?
Just as in most things with flower farming, the learning curve will seem steep at first. You might very well be Googling every single type of flower to see how and when it should be harvested, or you might have your ebook of Cool Flowers constantly up on your phone and your copy of Cut Flower Garden permanently open on your kitchen counter (as I did my first year). The fact is, there is a LOT of very specific information you’ll need to eventually internalize when it comes to harvesting specific kinds of flowers, but the good news? The more you do it, the more it becomes second nature, and you won’t even need to question it anymore.
Let’s start from the beginning, though.
Note: There are affiliate links to books and products mentioned below.

Harvesting Basics = The Four C’s
Clean
You don’t need any fancy tools to harvest — just a pair of sharp snips (these are my favorite, and they’re super affordable), a pair of sturdy work gloves, and a bucket filled with water. However, before you march off to cut down your darlings, you absolutely need to make sure that everything is completely clean. A good rule of thumb I’ve often heard? If you wouldn’t feel comfortable drinking from your bucket, don’t be putting flowers into it.
Flowers are tough, but one of the things that can bring down their vase life the very fastest is for them to be exposed to a bunch of bacteria. So, make sure you clean your snips with hot, soapy water before using them, make sure you clean all your buckets, and then you’re good to head out and get started.
Cool
Although in a pinch you might have to break this rule, you really should avoid cutting during the hottest part of the day whenever possible. The flowers don’t like it, and not all of them will recover from being cut during midday. Cutting during the early morning is the most ideal, but the second best time to cut is later in the evening, when the sun is already starting to set.
Also, with very few exceptions, you should immediately put any just-cut stems straight into cool water. I’ve seen a lot of flower farmers cut a whole armful of stems before putting them in a bucket, and for me anyway, I think they’re taking more of a risk of stems flopping by doing that. I harvest a max of 2-4 stems before I put everything into my bucket, and with extremely sensitive flowers (such as lilacs and other things that grow on woody stems), I put every single stem straight into water after stripping the leaves and doing any other special harvesting techniques (which I’ll talk about below).
Cut
When you actually cut your stems, try to cut cleanly, with one good snip — if you’re having to twist your shears around, they aren’t sharp enough (or you’re not using a big enough pair). In most cases, you’ll be cutting deep into the plant to get the longest stem length you can, above a set of leaves. This can seem counterintuitive at first because it will mean you’re often sacrificing side buds, but remember — you basically train your plant how to grow. If you’re timid and only cut shallowly because you worry about sacrificing side buds, you’re telling your plant to actually produce on shorter, bushier stems rather than producing the tall stems you’re looking for.
After cutting the stem, cut or strip off any foliage that will be under the water line before putting the stem straight into your bucket of water.
Condition
Once you’ve cut all that you’re going to, you do NOT want to start arranging with the stems right away — that is a recipe for the flowers to get stressed and wilt on you. Instead, you ideally want to let the flowers “rest” in a cool place for a few hours or as much as overnight. That way, when you take out the stems to arrange with them, they will be fully hydrated and looking their best.
It’s worth noting that with some very sensitive crops, such as basil or mahogany splendor hibiscus or honeywort, the plant might look wilty if it’s harvested in any kind of heat at all. Even more especially in those cases, the conditioning rule should always be met, and if you find that a stem is STILL wilty after an overnight rest in a cool place, then you can either try searing the stems and leaving it for another 24 hours, or you can call it a lost cause and cull those stems.

Flower-Specific Harvesting
While I can’t possibly cover how to harvest every single kind of cut flower in one blog post, many times you can follow certain patterns or rules for several different kinds of varieties. For flower-specific harvesting, I recommend purchasing the two books I mentioned above — Cool Flowers and Cut Flower Garden.
General Rules of Thumb
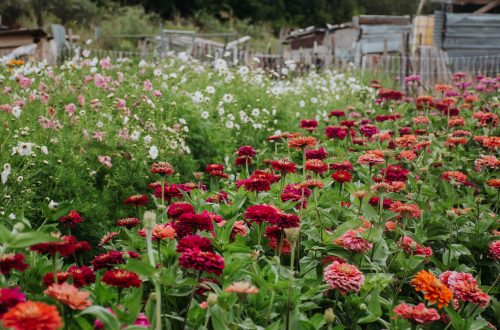
One of the main rules of thumb with harvesting is that you have to know whether the plant you’re about to harvest is a “cut and come again” flower or if it’s a “single stem” flower. The vast majority of things that are grown for cutting are cut and come again, which means that the more you cut them, the more they’ll grow and produce. However, there are a few plants that most flower farmers will grow that will only produce one flower per plant.
- Examples of Cut and Come Again Flowers: zinnias, cosmos, marigolds, snapdragons, rudbeckia, statice, most celosia, branching sunflowers
- Examples of Single Stem Flowers: single stem sunflowers (such as the whole ProCut series), stock
If you’re cutting from a plant that is cut and come again, you want to cut for the stem length you want, which will often mean you’re cutting close to the base of the plant and sacrificing side buds. Make sure you cut above a set of true leaves so that the plant can continue to grow for you. If you’re cutting a single stem flower, obviously you don’t need to worry about preserving ANY of the plant — in fact, I’ll often just pull up the whole plant and then cut the roots off.
With many flowers, you’ll want to cut when the flower is just starting to unfurl, or, if it’s a spike with multiple flowers growing up the stem (such as a snapdragon), you want to cut when just the lower set of one or two buds is open. THERE ARE EXCEPTIONS TO THIS. With certain flowers, such as rudbeckia or dahlias, you need to wait until the flower has fully opened before you harvest, either because the flower won’t really open more once it’s harvested (as is the case with dahlias), or because if the flowers are harvested before they’re open, they’ll flop (rudbeckia).
When in doubt, just do your own harvest test — cut a flower at several different stages and keep track of how it behaves over the course of the next week in the vase.
The Wiggle Test
Sometimes a flower will look like it’s totally ready to cut, but you might find that its neck flops and breaks for you within a day or two of harvesting, or that the flower head droops. In that case, chances are high that the plant needs to pass “the wiggle test” before it can be harvested.
What’s the wiggle test?
It’s when you take your fingers about 6-9″ down the stem of the plant and give the plant a little wiggle from side to side. If the stem you’re wiggling stays stiff and unbending all the way up to the flower, it’s ready to cut. If the flower or top flops from side to side, or if there’s any “give” in the stem, it’s not ready to harvest yet. Sometimes if a stem seems close but I’m not sure, I’ll also gently feel the “neck” of the flower (the part of the stem just below the flower head) to see if it’s still bend-y at all. If it’s not totally stiff and hardened but instead is still a bit pliable, it’s not ready.
Flowers that this applies to: Zinnias, Celosia, Gomphrena (I’m sure there are others)
Searing
Sometimes if you “sear” the cut end of a stem in boiling water or over an open flame for about 10-15 seconds, it helps the plant to be able to take up water better, which means it will drastically improve its vase life. Searing is also a good strategy to help any plants that are sensitive to being harvested in the heat — such as basil, mahogany splendor, or honeywort — to rehydrate if they’ve “flopped” on you. Plants that I ALWAYS sear include dahlias, poppies, and woody stems, which I talk more about below.
Sarah Raven, in her book A Year Full of Flowers (which is one of my absolute favorites), says that she actually sears the majority of her stems, at least in the spring and summer. She says that by autumn, fewer flowers need it. In other words, searing is not ever going to HURT the stem, so if in doubt, just sear, especially if you notice that the stems are flopping after harvest at all, or if the vase life isn’t at least a handful of days. She goes on to say that for woodier stems, you need to sear for closer to 30 seconds in boiling water and for softer stems, you only need about 10.
Woody Stems
Shrubs are a fantastic addition to bouquets and arrangements, but they do take a little bit of extra harvesting work in order to look their best and actually last. Take lilacs, for example — many people think that lilacs don’t make a good cut flower because they’ll often die on people after just a day or two after being cut. However, if you employ these special harvesting techniques, I’ve had lilacs last up to a week in the vase.
First, if you’re harvesting a woody stem just for the flowers, you’ll want to strip as much of the foliage off as you can. Keep in mind that every leaf you leave on a stem is something more that needs to be hydrated, so unless you’re really wanting those leaves for a particular visual look, take them off. Second, after snipping the stem at a 45-degree angle, you’ll want to take your shears and make a 1-2″ cut vertically up the stem, as close through the middle of the stem as you can. Then, you’ll want to take one of the halves and kind of bend it up and out a bit so that more of the inner part of the woody stem will be exposed to the water. Then sear the ends for 30 seconds in boiling water and then place the stem immediately after in cold water and let the stems condition overnight.
Doing this should drastically help to increase the vase life of anything you cut from a shrub or tree.

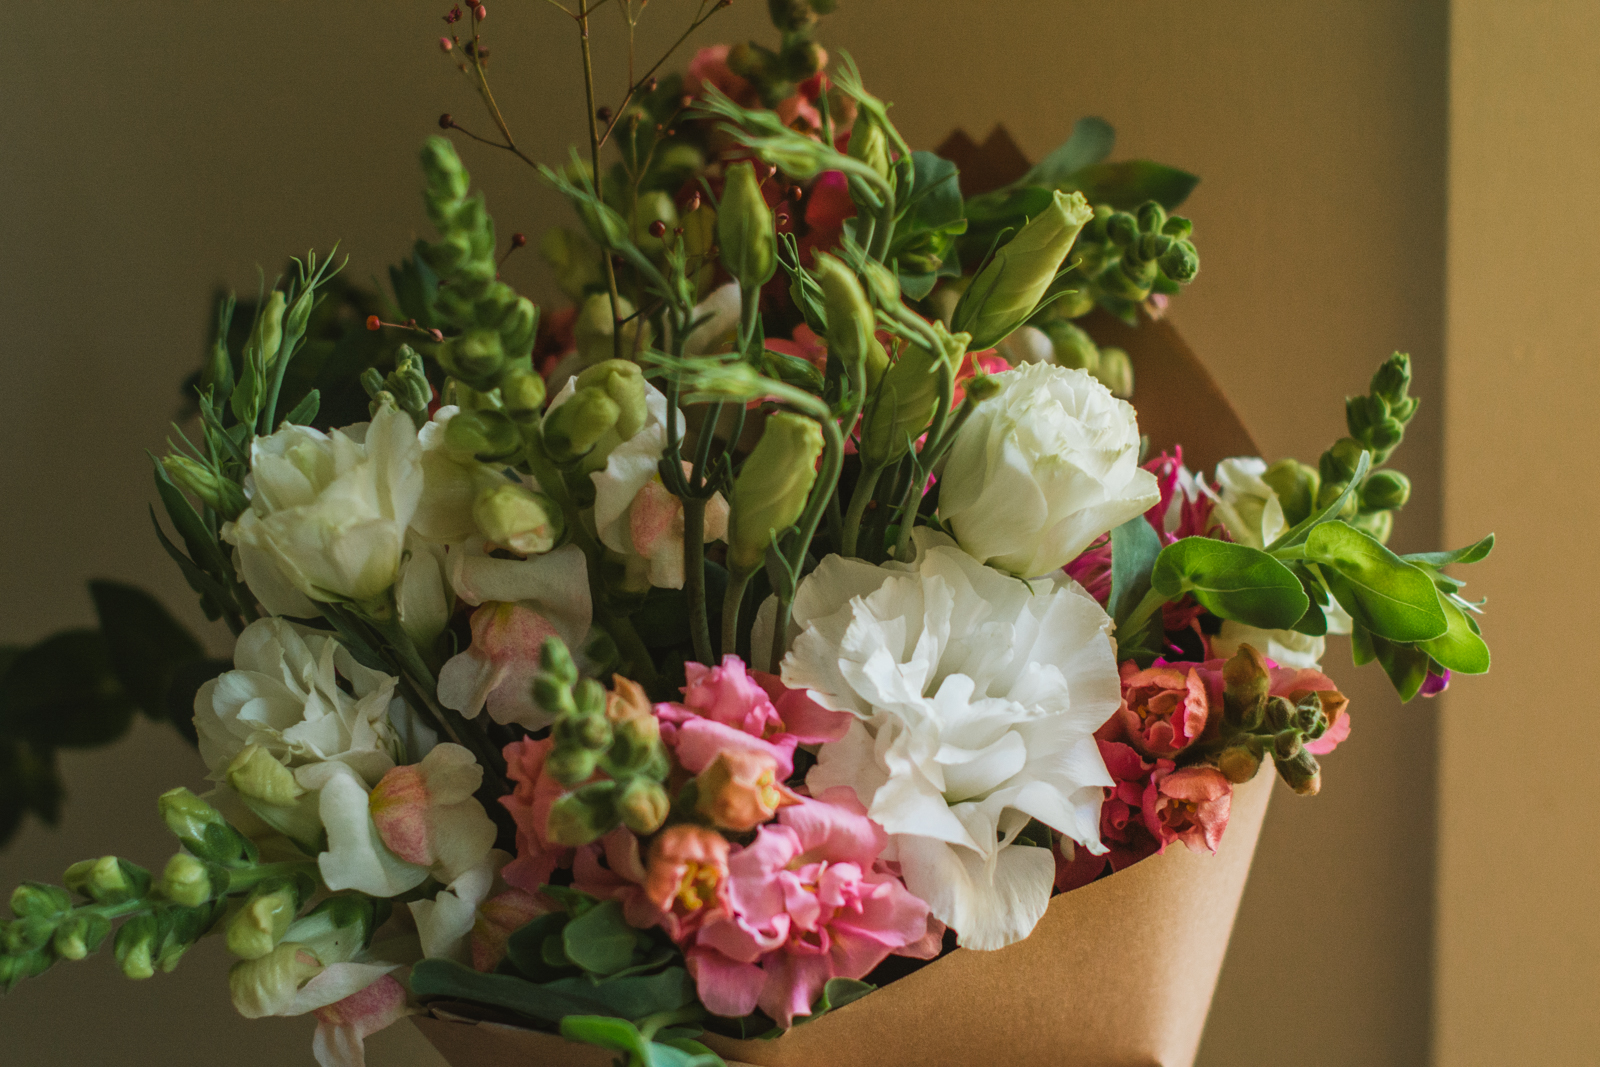
Arranging
Okay, so now your stems have been harvested, stripped of leaves, and conditioned. You’re ready to arrange! But where to start? The first time you start trying to arrange with your flowers can be really daunting, so ideally, you want to make sure that your first time (and maybe even your first several times) isn’t for an actual order.
A lot of arranging comes down to consistent practice and learning to develop a good eye for what looks good, both of which will improve over time. In the beginning, give yourself lots of permission to play around and make mistakes and just try new things. If an arrangement ends up coming together beautifully and you think it’s worth trying to sell, try it! However, it’s sometimes nice just to take the pressure off of yourself and save your first several arrangements just for your own home — you can consider them your “rough drafts.”
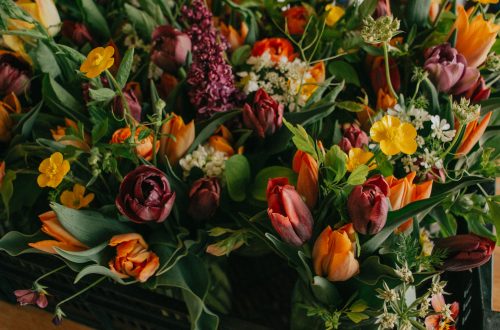
Wrapped Bouquet Vs. Vase Arrangement
When you first approach arranging your flowers, you need to decide initially if you’re going to do a wrapped bouquet or a vase arrangement, since the techniques for assembling both are entirely different. If you’re going to make a market bouquet, you arrange the whole thing in your hand. If you’re making a vase arrangement, you obviously start from the get-go right into the vase.
Watching a video will be far more effective than a written explanation, so if you’re doing a wrapped bouquet, you can check out this YouTube video on the technique.
If you’re wanting to try a vase arrangement, I always recommend starting with your structural foliage stems first, which will create your overall shape for the arrangement as well as create a kind of pillow or support system for the flowers. If you’re trying to fill a rather large vase, I would go one step further and take some clear tape and make a grid over the vase opening — that way the stems will stay where you want them to stay and won’t be flopping around every time you try and add something new.
Generally, you want your stems to be about double the height of the vase — otherwise, the arrangement will look awkward. I also prefer vases that flare out at the top, or at the very least, that don’t flare in, because that has the effect of “pinching” the arrangement and making the flowers stand upright and vertical rather than letting things spill out and look more abundant.
The best thing you can do is study a step by step guide to doing this so that you can start to get a feel for how to put together your own arrangements. I’ve detailed several books below that I refer to regularly that have scads of in-depth picture tutorials.
Color Scheme
When approaching your arrangement, you’ll generally go one of three ways with color — you’ll either stay monochromatic and use all shades of just one color (maybe mixed with white), go analogous (meaning that you’ll stick with colors that are next to each other on the color wheel, such as reds, oranges, and yellows), or you’ll go for contrasting colors, which is where you’ll go for things on the opposite side of the color wheel (purple and yellow, blue and orange). You can get more complicated than these three color schemes, but these will provide a great jumping off point.
The other main thing to consider is the “tone” of each color. You can have both a cool yellow (think highlighter yellow) and a warm yellow (think autumnal yellow), and that needs to be taken under consideration when you start to mix with other colors. For example, it often looks strange to mix a really cool-toned shade with a really warm-toned shade of a different color.
Texture + Shape
Just as a good artist approaches his or her work with a critical eye for the various aspects of good art, so too should you approach your flowers. Just as you would learn in Art 101, in addition to considering color, you need to consider the textures and shapes you’re including in your bouquets. Are you varying the heights of flowers and making sure to include some spikes in there? Are you including different textures, such as using an airy spray of saponaria or frosted explosion grass, or the seedier textures of amaranth or orach? Are you making sure you’re varying the different sizes of blooms so that you’re not just using one same size over and over again?
This is not something you learn overnight (and trust me, I’m definitely no professional yet), but it IS something you can develop and notice more of over time.

Further Resources
Even though my original plan hadn’t been to be a farmer florist, that’s the direction that I seem to be going over time. And I’ve found that I actually really love the arranging and design aspects of it! Because people have asked me to start doing more actual “arrangements” rather than just wrapped market bouquets, I’ve been building up my collection of favorite floristry books, as well as increasing the number of floral designers I follow on Instagram.
Here are some of my absolute favorites:
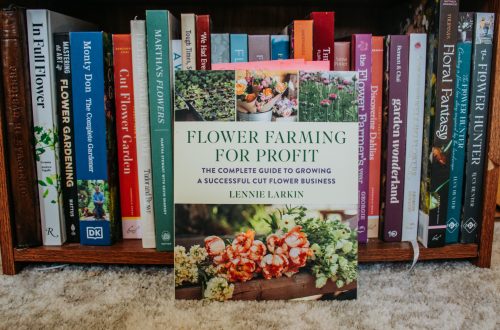
Favorite Floral Design Books
- A Year in Flowers by Erin Benzakein
- The gold standard. Not only does she do step-by-step picture tutorials of many different kinds of arrangements (bridal bouquets, flower crowns, centerpieces, etc.), but she also breaks it down by seasonal ingredients AND has the most amazing appendix in the back of all the different stems and their vase life. A must own.
- Color Me Floral by Kiana Underwood
- I keep checking to see if she’s published another book because I find this first one she did so stunning! Even though this entire book is filled with monochromatic arrangements, she proves that sticking to mostly one color is anything but boring. I also love that for each arrangement, she gives a natural “stopping point” if you want to keep it more simple, or then keeps going for a few more steps to make it truly opulent. So fun.
- Seasonal Flower Arranging by Ariella Chezar
- There are some floral designers whose style I’d love to try and emulate, and there are others who I like because their style challenges me a bit. That’s how Chezar is for me. Her work is gorgeous, but some of it is more unusual, which I find exciting. I like to see how she both follows and breaks the traditional rules of floristry in her designs.
- From Seed to Bloom by Milli Proust
- I fell in love with Milli Proust’s Instagram ages ago, and when I found out she was releasing a book, I snatched it up almost as soon as it came out. I love the wild, natural look of her designs, as well as her moody style of photography. I was hoping that she would do her own photography for her book, but it’s also been fun to actually see her in action since she hired another photographer to take the pictures for her. This book not only combines step-by-step how-to picture tutorials on how to create certain seasonal arrangements, but it also has a lot of tips on how to actually grow the flowers too, which is a nice bonus.
- The Flower Hunter by Lucy Hunter
- This is my favorite book to curl up to for a comfort read. I like that this goes beyond just floral design — it’s also a collection of essays about finding beauty and cultivating an eye for ingredients (no matter where they might come from) and about the creative life in general. This is the perfect kind of book to gift to someone because it’s equal parts gorgeous and inspiring, and you don’t have to be a floral designer (or wannabe floral designer) to appreciate it.
Favorite Instagram Accounts
- Milli Proust
- I particularly love her “Windowsill Wednesdays” series.
- Tulipina Design
- This is the IG of Kiana Underwood, who published the Color Me Floral book above.
- Cakeatelier Amsterdam
- Each of her arrangements is modern but aesthetically pleasing, and I also love that each one includes at least one whimsical, unexpected element.

If you have any books or Instagram accounts to add, let me know! And as always, drop a comment below with any questions you have.