

Flower farms are popping up everywhere, and if you’ve thought about jumping in but are limited on space and money, this post is for you.
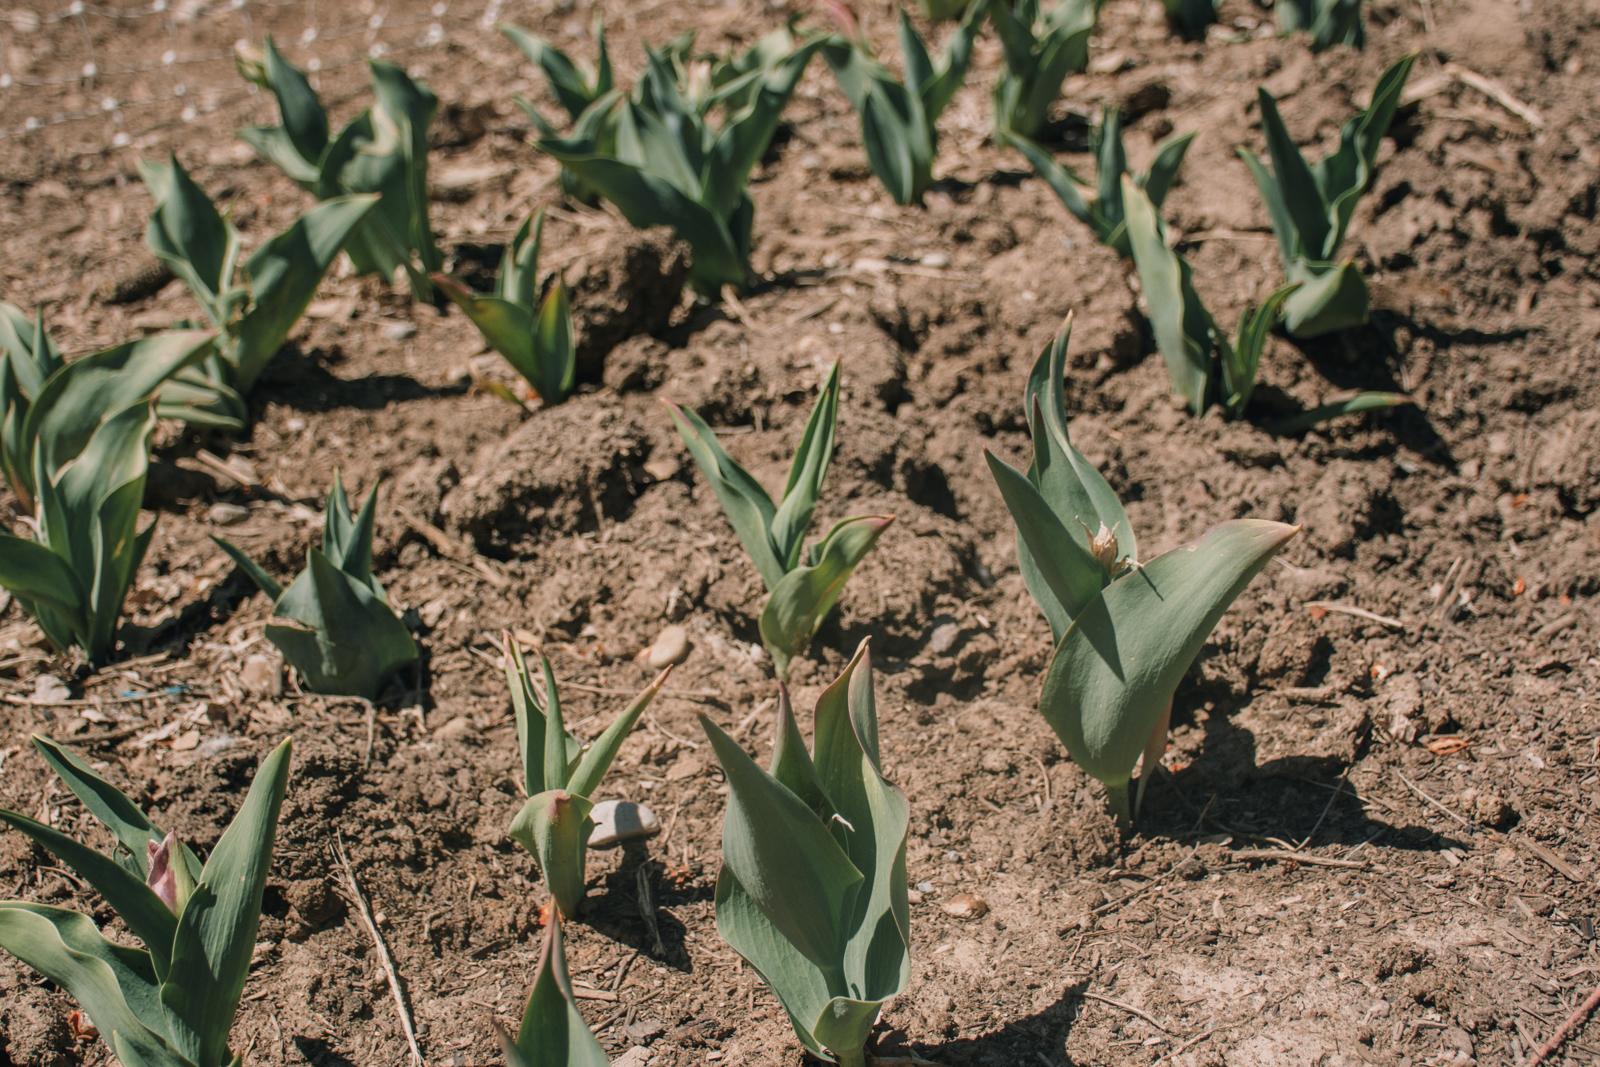
The fact is, you don’t need a traditional “farm” with lots of acreage to grow cut flowers to sell. In fact, you can grow quite a lot of cut flowers on just 400 square feet or so. The trick is to use tighter spacing than what is recommended on the seed packets and to favor things that are productive, long-lasting, and as quick from seed to harvest as possible.
If you want to try out flower farming on a micro scale to see if it’s for you but don’t want to put in a huge investment upfront, I’ve come up with a from-scratch plan that will only run you just over $200, which should get you the plants you need to see if this is right for you. If you’re not interested in selling your flowers but want to grow a cut flower garden for your own use, this plan is good for that, too.
Note: There are affiliate links to products mentioned below, which means I may get a small commission on any purchases made at no extra cost to you. As always, I only recommend products that I’ve used and loved myself, or that I would feel comfortable buying myself and trying.
The Equipment
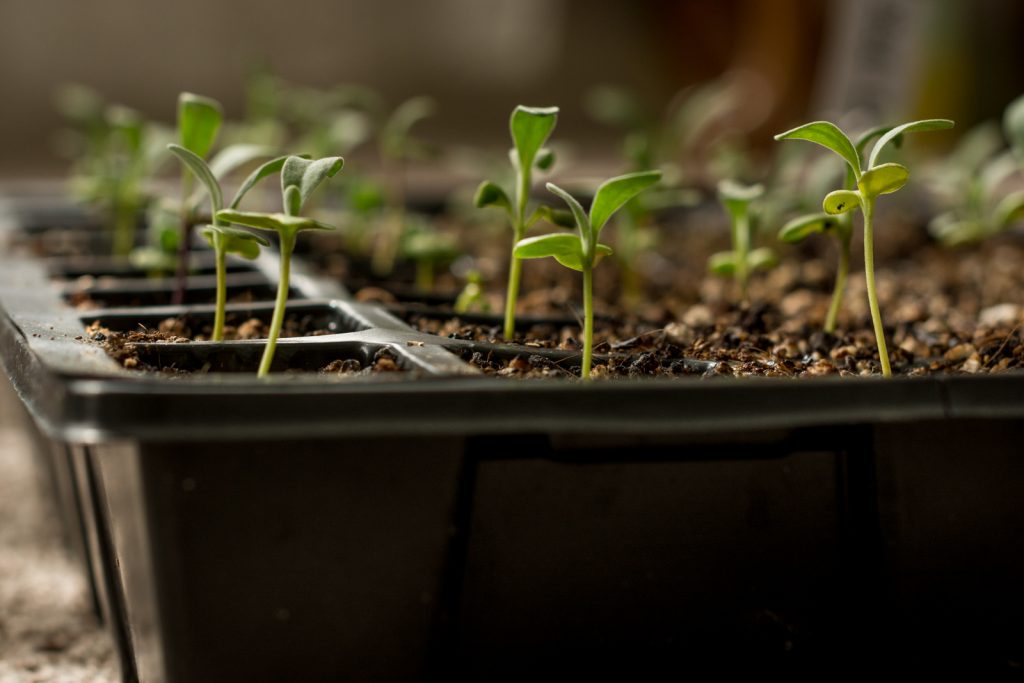
If you’re going to get into cut flower farming or gardening, you have to get comfortable starting your own seedlings. Period. Most nurseries do not carry the special tall varieties you need for cut flowers, so you’ll need to buy your own seeds and grow them yourself.
Luckily, it’s not nearly as difficult as you might think. All you need is a heat mat, seed trays, grow lights, and some good quality seed starting mix to get going. Oh, and you have to remember to actually water the things.
Not all seeds need to be started indoors first — some actually prefer to be direct seeded outside from the get-go, and I’ll note below in the “seeds” section which is which.
Here’s what you need for your set-up:
- Seedling trays, humidity domes, bottom trays ($20.99 for five 40-cell seedling kits)
- You can get complicated and shop for all sorts of different sizes and types of seed-starting kits, but for general purposes, I’ve found that this particular size is good for most things (as long as you don’t keep the plants in there *too* long), and I like that it comes with a bottom tray and a humidity dome for each seed tray. The bottom tray is so that water won’t get everywhere when you water the seedlings (and so that you can pour the water directly into the bottom tray for seeds to soak up from the bottom, if you so choose), and the humidity dome is just to leave on until the seeds germinate, then you can take it off. All in all, this particular kit comes with five 40-cell trays, for a total of 200 cells.
- Grow lights ($59.98 for two 4 ft. shop lights)
- You can spend all sorts of money on fancy grow lights, but shop lights work just fine, even with the original bulbs in them. I bought 8 of these particular grow lights this year, and they’ve been working just as well as the more expensive Feit LED lights I purchased last year, but they cost a lot less.
- Potting Soil ($18 for one 12-quart package)
- You need a growing medium that will allow your seeds to easily germinate and that will also ideally give them “food” for the weeks that they’ll be growing inside. This particular mix uses organic fertilizers rather than synthetic, which is what I prefer. It’s a little more dense than a traditional seed starting mix (which is finer/lighter), but I’ve had good luck with things germinating in it just fine, and it doesn’t require you to add in fertilizer weekly, as you would need to do with many seed starting mixes.
- Heat mat ($15.99 for one heat mat)
- Heat mats are mostly to help seedlings germinate, and you usually remove the seedlings from the heat mat once they’ve sprouted. However, heat mats can also be good for certain plants that are particularly heat-loving, like zinnias and basil, in order for them to grow even better for you inside.
Total for Equipment: $114.96
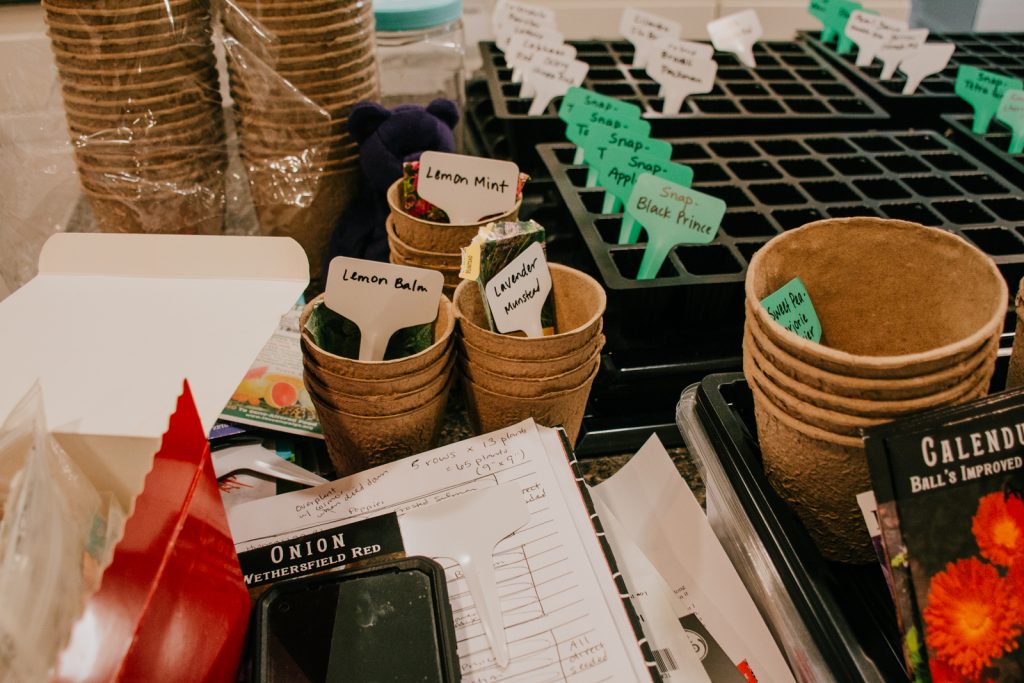
The Seeds
Now for the fun part, right? Below I’ve included the best seeds for mixing and matching bouquets, and you’ll notice that I’ve also included a lot of seeds for “filler” or “greenery” — that’s because you ideally want to grow about 50% foliage and filler to 50% focal flowers. Many people tend to ignore the greenery and filler their first year growing. However, those pieces are absolutely necessary for bulking out bouquets and adding textural interest, and your bouquets will just look strange without it.
My very first year growing a cut flower garden (before I got into farming and selling), I pretty much just grew whatever flowers looked most pretty to me. As a result, when I went to put everything together, it just didn’t look right, and I had to go forage greenery from the trees and shrubs on my property. Ideally for a mixed bouquet, you want about a third focal flowers (usually bigger flowers, often with a round shape), a third supporting flowers (which includes “spikes” and “froth”), and a third greenery.
All seeds listed below are from Johnny’s Selected Seeds. While Johnny’s isn’t the most inexpensive source, I have personally found that it’s definitely one of the most reliable and the highest quality. (And here’s a tip: if you add items to your cart, add your name to their email list, and then wait a day or two, they’ll pretty much almost always email you a coupon for either free shipping or for a certain dollar or percentage amount off your order.) At the beginning of my flower farming journey, I bought seeds from a variety of sources, but I now buy almost exclusively from Johnny’s.
Here are the absolute must-grows to include in your first cut flower garden, all of which are relatively easy for beginners:
- snapdragons (Potomac Custom Mix, $4.98 for 50 seeds)
- Snapdragons were the flower that first made me fall in love with cut flowers. While you might be used to a bedding snapdragon, the ones grown for cutting are in a league of their own, complete with different shapes and forms than you’ll find in a typical nursery snapdragon. While I love all kinds of cutting snapdragons, the Potomac series is the tallest and produces some of the strongest stems. This is a true cut-and-come again flower that will usually produce blooms for you from late spring/early summer all the way through to the first frost and even beyond (as it’s pretty cold-tolerant). Snapdragons are a great “spike” flower to add to arrangements in the early season. This is one that you basically have to start inside under grow lights to have much success.
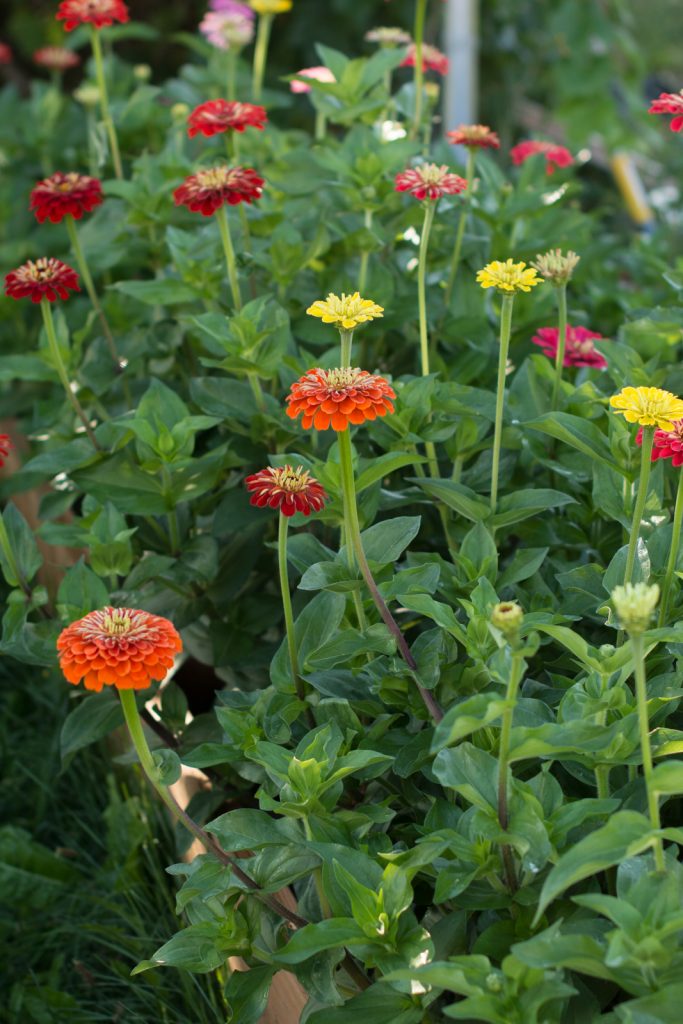
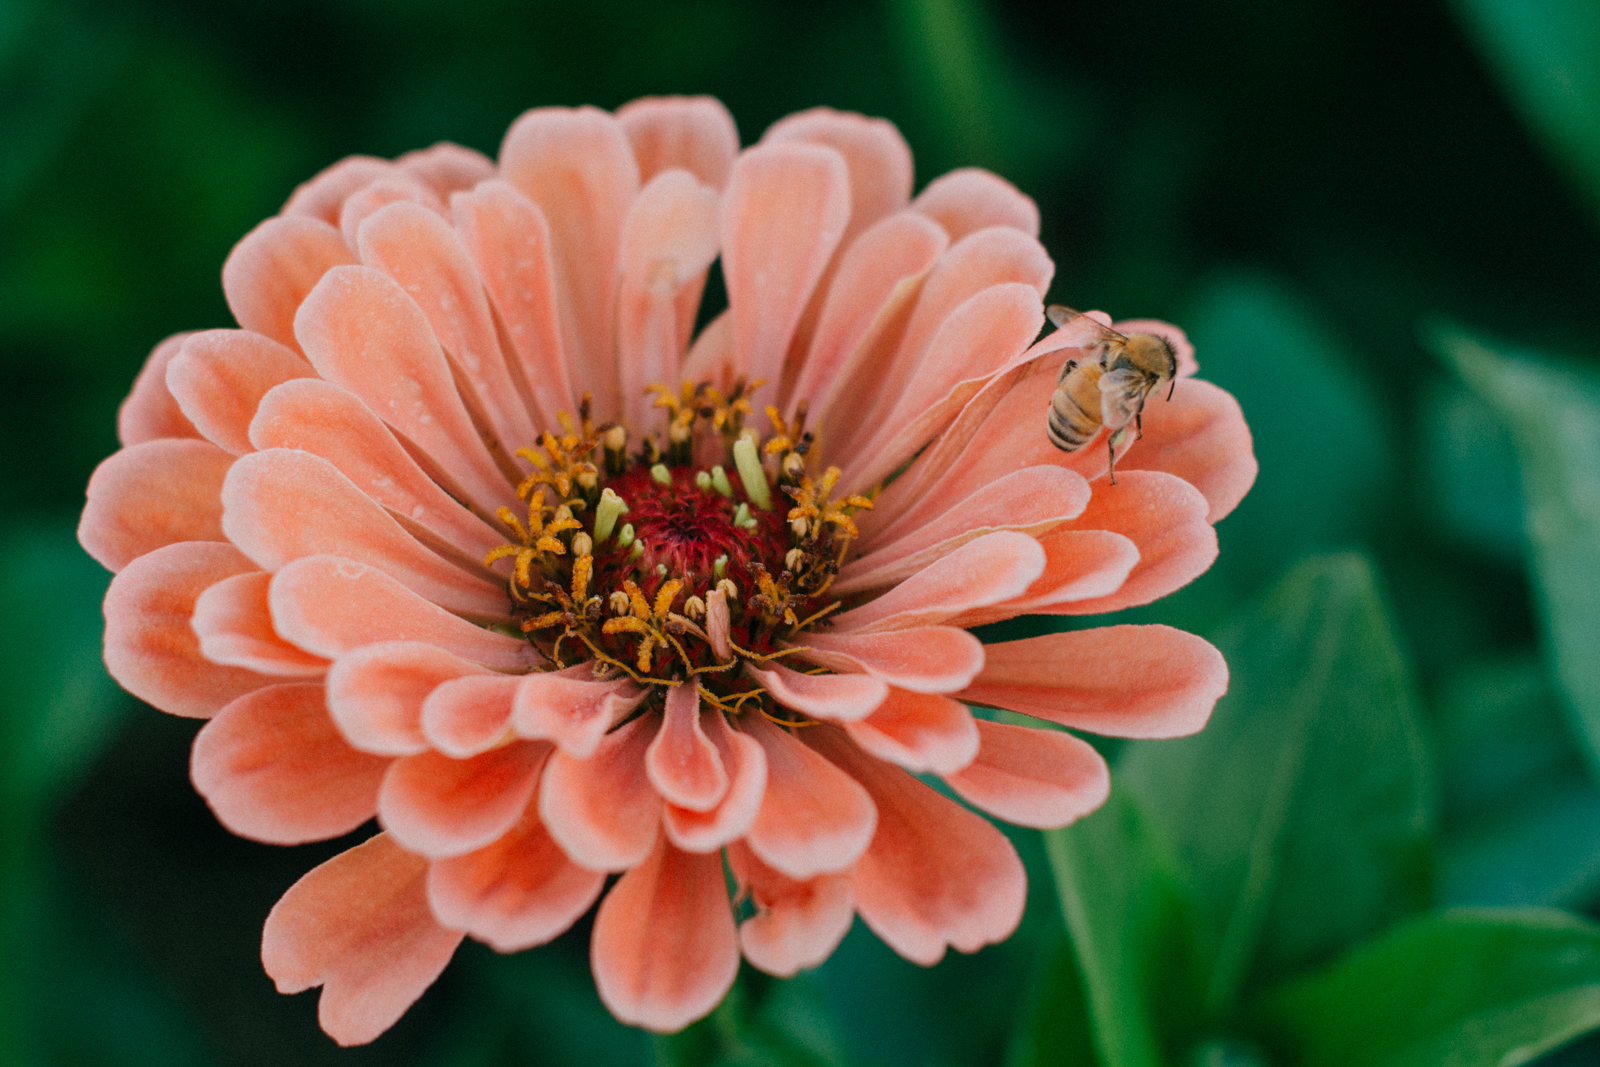
- zinnias (Queen Mix, $5.40 for 50 seeds)
- Zinnias are the workhorse of any cut flower farm–the more you cut them, the more flowers they pump out for you. They make a great focal flower, and this particular variety has an unusual, vintage-like coloring that makes it especially desirable. The unique coloring also means that it makes a good “bridge” flower to tie together various colors in an arrangement. You can either direct sow zinnias outside after your lost frost, or you can start it inside a few weeks early to get a jump on the season.
- zinnias (Benary’s Giant Mix, $4.98 for 50 seeds)
- These zinnias are truly huge and usually fully double, which makes them a fantastic focal flower. Last year I grew several different varieties of zinnias, but after growing the Benary’s and Queen series, I don’t think I need to grow much else (though the Oklahomas are good too—just smaller). While plants will keep producing throughout the entire growing season, they do tend to slow down a bit near the end, so to keep the blooms coming fully, it’s good do a second succession about a month after you put your first seeds in the ground.
- sunflowers (ProCut Orange, $10.80 for 250 seeds)
- This is definitely the priciest group of seeds in this list, but for sure worth it. Everyone loves sunflowers, and they make a fantastic focal flower. This particular series (the ProCut series) is pollenless and has an extremely fast seed-to-harvest time, sometimes blooming in as few as 50 days. However, this series is also a single-stem sunflower variety, which means that each seed will only produce one flower. This does mean that you need to plan on sowing sunflowers about every other week the entire growing season in order to ensure you have a continuous supply. Sunflowers do great when direct sown (as long as you don’t have too much pressure from mice or other animals), but you can also start them inside and transplant them out after two weeks to get a head start.
- sunflowers (ProCut White Lite, $8.75 for 100 seeds)
- Here’s another pick from the ProCut series, and one that is fabulous for your late spring/early summer arrangements. I recommend doing a couple successions of this for the first month of your growing season, then doing the ProCut orange for the later part of the season. Once again, this is a single stem bloom.
- sunflowers (Soraya, $5.20 for 50 seeds)
- Since you can never have too many sunflowers, I included some branching sunflowers on this list as well, which means that you won’t have to succession plant these as much (maybe just do one big planting at the beginning of the growing season, and one more a month after that). A branching sunflower will produce more blooms the more you cut it, but they do take longer to go from seed to harvest than the single-stem varieties. This particular kind bears minimal pollen, and I particularly like it because the blooms are upright facing.
- rudbeckia (Triloba, $4.90 for 100 seeds)
- Rudbeckia triloba is a cheery filler that produces multiple daisy-like blooms on a single stem, which can help fill out an arrangement quickly. Rudbeckia is also a workhorse that will pump out crazy amounts of flowers the more you cut it, and it’s also frost-tolerant, so you can plant it out about 4-6 weeks before your last expected frost. You do need to start this one inside and transplant it out, but it’s usually very quick to germinate and grows quickly. The rudbeckia triloba variety is also perennial, so once you plant it, you’ll have it for a long time to come.
- rudbeckia (Cherokee Sunset, $5.15 for 100 seeds)
- Cherokee Sunset is a variety mix of rudbeckia hirta, which is the annual form of rudbeckia (more commonly known as black-eyed susan). This mix doesn’t look anything like your typical yellow-and-brown rudbeckia, however — this mix produces totally different flowers from each seed, most of which are fully or semi-double, and which range in colors from orange to yellow to red to brown. This particular variety also works great as a focal flower, as the blooms can get huge — anywhere from 3-5″ across. If you plant this outside early enough, you can get blooms from June to frost.
- basil (Cinnamon, $4.90 for 200 seeds)
- Basil is one of the best and most prolific fillers around, especially if you pinch it (aka, cut off the top above a set of leaves) when it gets between 6-9″ high. This is one you can start inside or direct sow outside, but you do need to wait until after your last frost to plant it. The smell of this basil is amazing, and its dark purple foliage and bracts once it bolts and flowers is particularly beautiful in later summer and fall arrangements. I recommend planting at least three successions of basil throughout your growing season, 3-4 weeks apart.
- basil (Mrs. Burns Lemon, $4.10 for 200 seeds)
- This basil has lime green foliage and a citrusy smell, and it mixes well with just about everything. Both this and the cinnamon basil are special ornamental varieties that have been bred to be tall, usually at least 18-24″.
- statice (Johnny’s formula mix, $4.70 for 100 seeds)
- You might be tempted to discount statice as boring or not worth your time (as I was), but once you grow it fresh, you’ll never go back. This is honestly one of the most prolific plants I have grown, with each one producing buckets of stems and multiple flushes over the course of the whole growing season. It’s also fairly frost tolerant, which means you can plant it out about a month or up to 6 weeks before your last frost. Statice makes a great filler, and I love that this mix comes in so many colors. This one needs to be started inside first.
- cress (Persian, $4.90 for 200 seeds)
- Every bouquet needs to have some kind of airy filler in it to really make it sparkle, and cress is a great option for that. It does need to be planted frequently as it’s also a one-and-done kind of plant, but you can direct sow it in the ground starting about 6 weeks before your last frost, and you’ll have a usable harvest in about 60 days. You can either use it for the tiny flowers, or you can wait a little longer for the cool decorative seed pods to come on.
- frosted explosion grass ($5.15 for 100 seeds)
- Here’s another one that adds that element of airy sparkle to an arrangement, and the texture on this is seriously incredible. This one will usually keep producing multiple stems from the same plant as long as you keep on top of harvesting. I would recommend starting it indoors, as the seedlings look identical to weed grass when they germinate. I honestly don’t know if this one is frost-tolerant, so best plant it out after the last frost just in case.
- feverfew (Tetra White, $4.65 for 50 seeds)
- While the smell of feverfew takes some getting used to, it is one of the best fillers around as it can bulk up a bouquet faster than just about anything else I can think of. It should be started indoors but can be transplanted out 6 weeks or so before your last frost date, and it will usually self-seed if a few blooms are left on the plants at the end of the season. If you’ve successfully overwintered your feverfew in the fall, you’ll often get two flushes from it the next year — one in late spring around June and into July, and the other later on, around September.
- bells of Ireland ($6.90 for 1,000 seeds)
- Some people have a hard time germinating bells of Ireland, but if you pop the seed packet in the freezer for a week before direct sowing in the ground, you shouldn’t have a problem, especially if you keep the soil moist until germination. These frost-tolerant plants have beautiful spikes of lime green bells that add a lushness to any arrangement they’re added to, and they will produce some usable side shoots for a later flush of blooms. These aren’t as productive as zinnias or rudbeckia, so you’ll need to succession sow a patch about every 3 weeks.
- bachelor’s buttons (Choice Mix, $5.15 for 100 seeds)
- Here’s another fun filler flower that can be started in the spring, about 6-8 weeks before your last frost date. Just direct sow them in the ground, and they’ll produce these lovely bursts of color for you in late spring. Bonus: Bachelor’s buttons are actually some of the very earliest flowers to bloom in the spring, so even though they’re a bit of a pain to harvest, they’re worth it for how early they come on. I recommend pinching them when they’re about 6-8″ high above a lower set of leaves so that they branch out and produce longer, easier-to-harvest stems.
- amaranth (Hot Biscuits, $5.15 for 100 seeds)
- Amaranth is my absolute favorite mid- to late summer filler (although pampas plume celosia would also be an excellent substitute). I prefer to start my amaranth inside and plant out after the last frost, but you can also direct sow it in the ground successfully. This one benefits from a hard pinch early on when the plant is around 9″ tall because it will produce multiple smaller spikes for you rather than just one gigantic plume. I’d recommend doing at least two successions, a month apart. The Hot Biscuits variety is a lovely shade of brown/caramel that mixes really well in autumn arrangements.
- amaranth (Red Spike, $5.15 for 100 seeds)
- I had a hard time deciding between this and a green variety of amaranth, but this one won out because it’s just so dramatic in late summer and autumn (and I figure we had other green fillers aplenty). You can either use just the foliage, or you can wait until the plant produces plumes.
- cosmos (Double Click Mix, $5.15 for 25 seeds)
- Finally, a cut garden plan wouldn’t be complete without cosmos. Admittedly, the flowers are just so-so for me because they don’t have a great vase life (just 5 days or so), but I actually LOVE using the greenery of the cosmos for filler. This can be either direct sowed or started inside, and it’s as cut-and-come-again as they get. In fact, this plant becomes almost TOO prolific, so make sure you plant it somewhere with plenty of room.
Total for Seeds: $106.06
Grand Total: $221.02
Now, this list clearly doesn’t include the cost of soil amendments, compost, or other things you might need if you don’t already have established garden beds. However, it DOES give you a curated list that, if followed, will have you producing bunches and bunches of bouquets from early summer all the way through to your first frost.
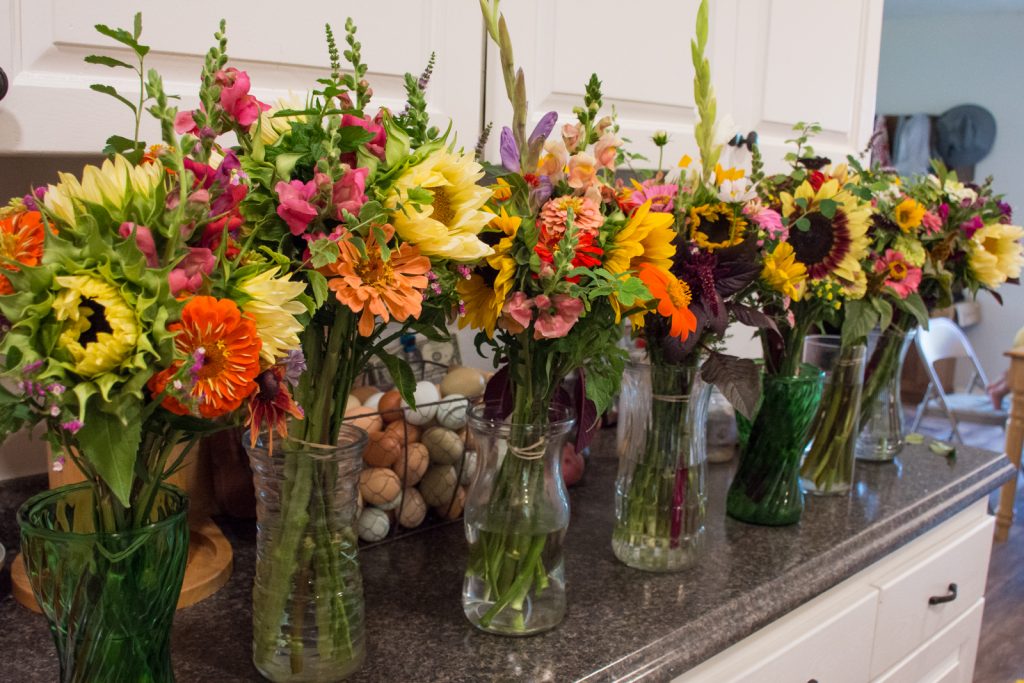
And there you have it! Everything you need to start your very own micro-scale flower farm in your backyard for around $200. If you have any questions or comments, don’t hesitate to comment below!

I just thought I’d throw this out there that right now if you buy sunflower seeds (any kind, any amount!) from Burpee’s seed from now through April 7, that the proceeds are going to the International Rescue Committee to help with the Ukraine crisis. I don’t necessarily have space to plant sunflowers this year, but they have so many fun varieties!
Hi there!
Your post was very helpful. Apart from the seeding trays to start the seeds, what do you use to direct sow seeds or to transplant seedlings from the trays? Do you have a plot or tilled area that you plant them in ground? Or do you plant them in bigger containers instead? I have no spots to plant in ground unfortunately, so I directed seeded into long and narrow “window” box containers with added drainage holes. I’ve had lots of success so far with germination and have different varieties of seedlings now, but I don’t know what I’ll do once the plants get bigger and bushier with growth. Like certain types of Zinnia and borage and such.
I just direct sow right into our crop fields or raised beds, and I don’t use any special tools or anything. In fact, I’m usually pretty lazy and just kind of scatter the seed around by hand, not even in rows or anything. As far as transplanting goes, I just use a butter knife, which is my favorite planting and weeding tool. When your plants are getting too big for inside but you can’t transplant them out yet, I would recommend pinching them while still inside to encourage them to bush out and produce more blooms for you.
I direct sow seeds right where I want them to grow outside since many resent being transplanted. I’m honestly pretty lazy about it — I usually just randomly scatter seed around and thin or move around later as necessary. But I’ve heard several people say they find the window gutter method successful. And my favorite transplanting tool is a butter knife 🙂
When do you start planting ?
I’m planting something nearly every month of the year, whether that’s starting seeds, transplanting seedlings, putting bulbs in the ground, etc. Two excellent books for planning your planting schedule are:
Cool Flowers: https://amzn.to/3RC4gqM
The Flower Farmer’s Year: https://amzn.to/46t9g5y
Oh, and if your zinnias or other cut and come again seedlings are getting too big inside, just pinch them by cutting above a set of leaves — it should buy you a couple more weeks.